I make stuff all the time but I'm terrible about taking pictures- especially of the process. I made a Halloween Pillow the other day I used this image:
free and copy write free from The Graphics Fairy
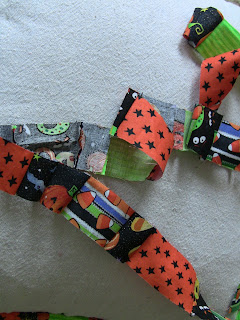
I used leftover Halloween fabric scraps to make the cording cover. (I rescued them from being thrown away! My sister in law and mother in law were doing a Halloween craft with a lot of circles which = a lot of scraps)
I Mod Podge transferred the image onto some painters canvas (a good tutorial HERE for using Mod Podge, or HERE for a using Citra Solv). If you want to print straight onto the fabric check out the tips on this blog post on Grograin. I used the painters canvas for the main fabric of the pillow. But I wanted to find out if the Mod Podge transferred, ink jet printed image would be able to withstand being washed (I even sprayed it with acrylic spray and water proof spray) Well, after the wash only a vague outline was left on the fabric- and a few smudges, ugh. So I got out my handy dandy fabric paints and filled in the outlines. At least now, with the fabric paint, I know it won't wash off. (My lesson- Mod Podge transferred ink jet prints onto fabric can wash off)
I covered the cord with the Halloween fabric and sewed it to the edge of the painters canvas. Here's a good tip if you like tight pillows- cut the pillow cover to the same measurements as the pillow. For instance, if you have an 18x18 inch pillow, cut your fabric 18x18 inches. I've never had a problem fitting the pillow in (ok, maybe I have to shove a little) but the pillow is always tight and never saggy and loose looking. Make sure to leave a very wide opening to stuff the pillow into.
Last, I Stuffed a pillow form I had on hand into the cover, ironed the open end (you can do this before stuffing!) and then hand-sewed the opening together.
I have a few more pillows I'm going to make for Halloween using graphics from The Graphics Fairy.


No comments:
Post a Comment