
Showing posts with label tutorial. Show all posts
Showing posts with label tutorial. Show all posts
Monday, August 29, 2011
Hair fun!
I've been hooked... Pinterest is so addicting. One of my favorite things is pictures of hair styles. Now that Nora is in school she has been letting me do her hair everyday, so I've been looking up fun and new ways to style her hair- she loves it, and so do I. I've also had time to actually do my own hair now that the kids are in school. Here is a picture of a recent style I did on myself.
 My husband said I looked pretty- like Olive Oil, from Popeye... Since when was looking like Olive Oil a compliment. LOL! Oh well, I'll take it.

Friday, July 8, 2011
Duh-duh-dum. The couch.


Thursday, June 30, 2011
Kid's art display frames
Sometimes I get a bit sidetracked. Never fear, I'm still working on the Single Girl quilt...cutting and cutting and cutting. In the mean time, two important things happened. My kids took an art classes and my mother-in-law was getting rid of some old frames.
Enter craft project here:
Display frames for my kids art-
I painted all the frames off-white with acrylic craft paint.

 When they dried I added some bright fun colors: red, blue, green and yellow.


Then I "antiqued" them a little by using some dark brown paint and a staining medium.
 I used a foam brush to apply it and then wiped it off with a paper towel.

 I got some strong craft magnets and some big washers. I cut back some of the corrugated cardboard and stuffed the washer inside (on the top side of the cardboard where I would hang the picture).


 I glued the paper onto the cardboard that fit in each frame. The ones that I put the washers into.

 Here they are! Finished with beautiful artwork in them. I used the magnets to attach the artwork to the frames. Easy to use and easy to change pictures.
 And without any artwork- still lookin good!

Enter craft project here:
Display frames for my kids art-
I painted all the frames off-white with acrylic craft paint.


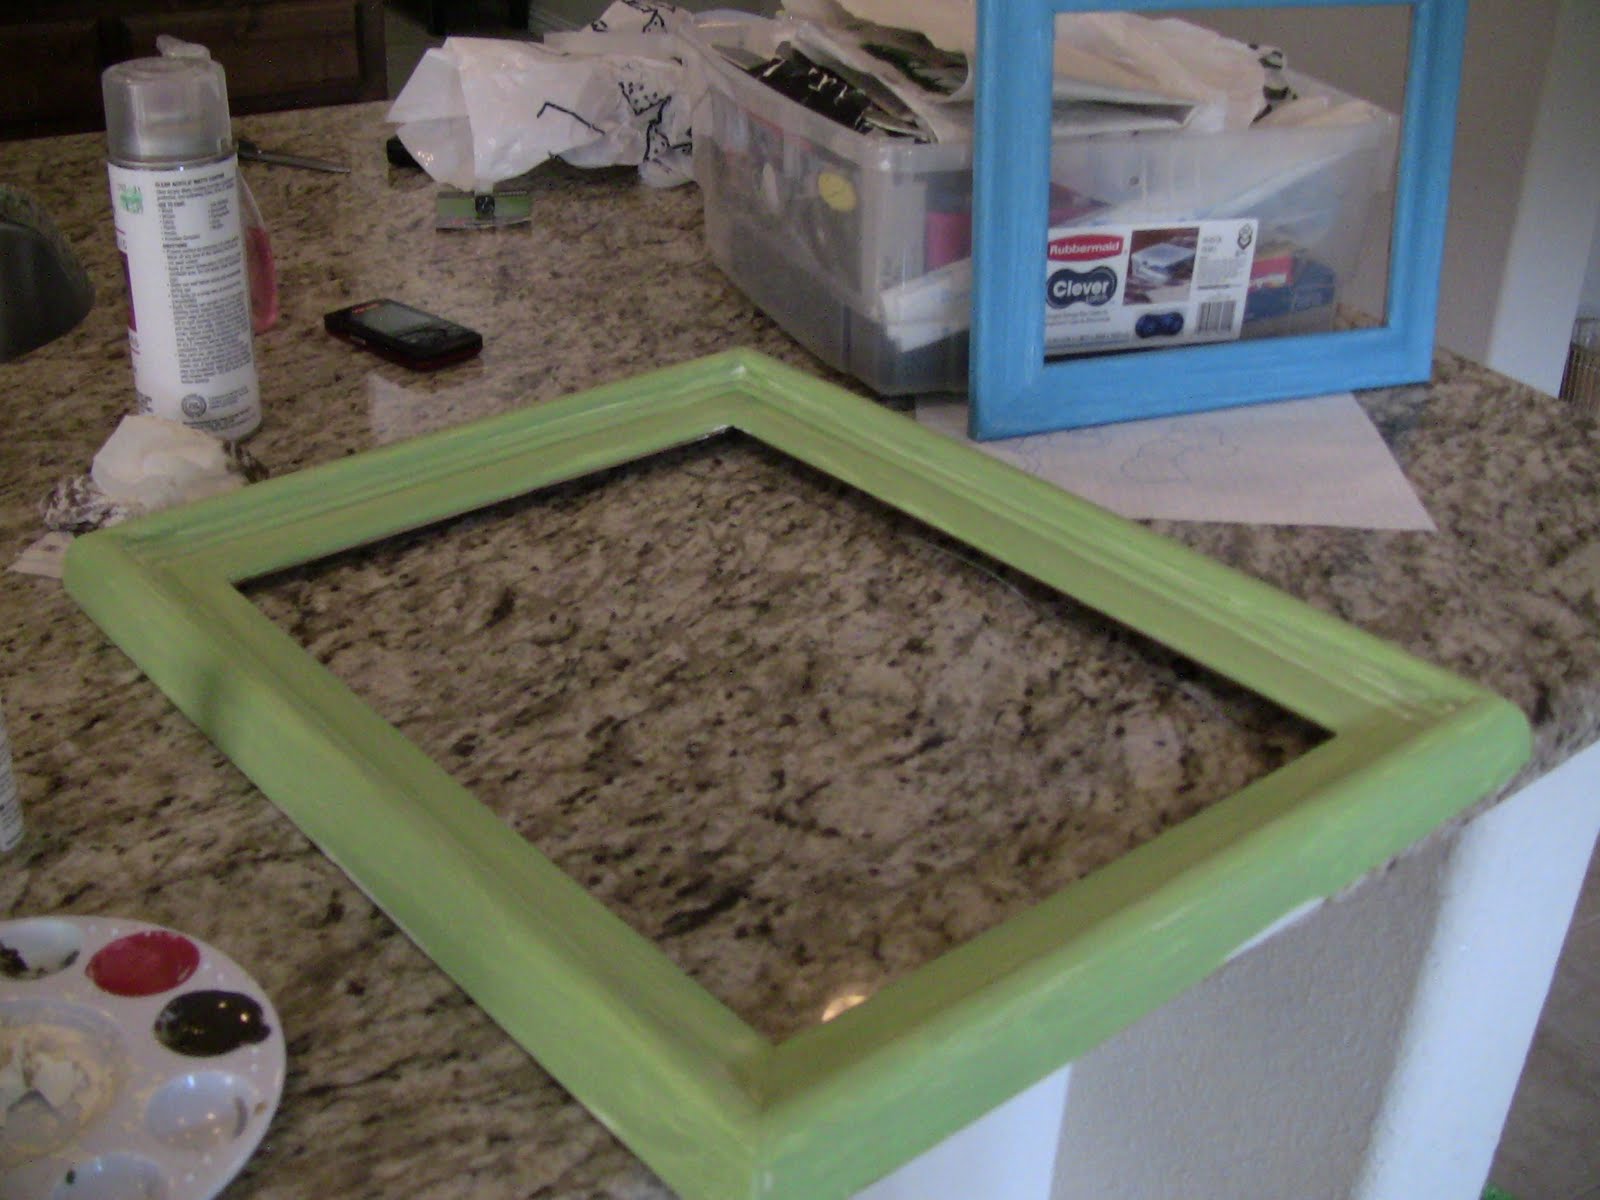
Then I "antiqued" them a little by using some dark brown paint and a staining medium.


I thought the frames should look nice weather or not there was any artwork in them, so I went through my craft paper and found some that wouldn't distract from the artwork, but would also be pretty. I found some with a natural textures- rocks, jeans, sand and wood.


Subscribe to:
Posts (Atom)